Equipped for Adventure: Planning your landscape photography trip
Sep 29, 2025
Getting your gear ready for the mission
You have your plane or train tickets ready (or maybe your car’s fuel tank is full), your clothes packed, the hotel booked, and even your dinners planned in advance. Well done! You’ve planned the adventure, charted the course, and now you’re ready to set off.
There is only one big question still unanswered: what photography equipment should I take with me on this grand quest?
Covering the basics
First, you need to plan your ‘photographic’ trip. This means researching the locations where you are most likely to get the best shots. You don’t want to get to the Misty Mountains without a plan, after all.
In the 21st century, the tools you need to plan your photos are digital, not physical. And they live on your phone or tablet. Your portable command centre, if you will. These digital tools empower you to plan your photography trip efficiently and with confidence.
So, there are three types of applications you will need:
- Weather apps
- Technical apps
- Travel Guide apps
Let’s see what these are and how to use them.
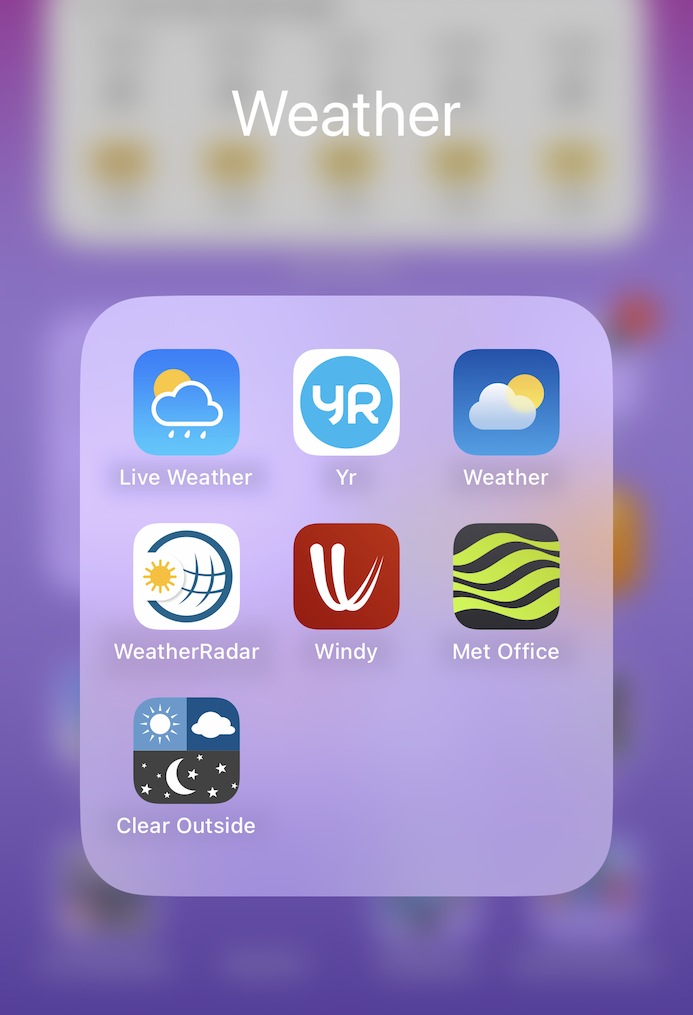
Weather apps
These are of the same type that many people already use to check their local weather status and forecast. But, as you probably suspect, you will also use some more specific to a particular region or climatic event, such as wind, rain, etc. Your mission will rely heavily on understanding the weather.
The ones that will tell you what to expect when at the location are:
- WeatherRadar: shows the cloud movement in the area you want to shoot. This feature is particularly handy if you plan to shoot sunrises and sunsets.
- Yr: Norwegian Weather Service app. They have one of the most accurate prediction services for any location worldwide.
- Mountain Weather UK: For mountainous locations throughout the UK. It provides a forecast for various altitudes.
- Windy: Good for wind speeds if you are on the road. It also shows cloud and rain forecasts.
- My tide times: Check tide times for any site. Again, this is particularly useful if you are planning for coastal photos.
- Alpenglow: A clever app that uses atmospheric data to predict the quality of a sunrise or sunset. It’s a fantastic way to know if that golden hour will truly be spectacular before you even leave the house.
It is worth pointing out that this is only just a selection of the many weather applications available on either the Apple or Google app stores. You should also check for any other software you are already comfortable using to complement the information mentioned above.
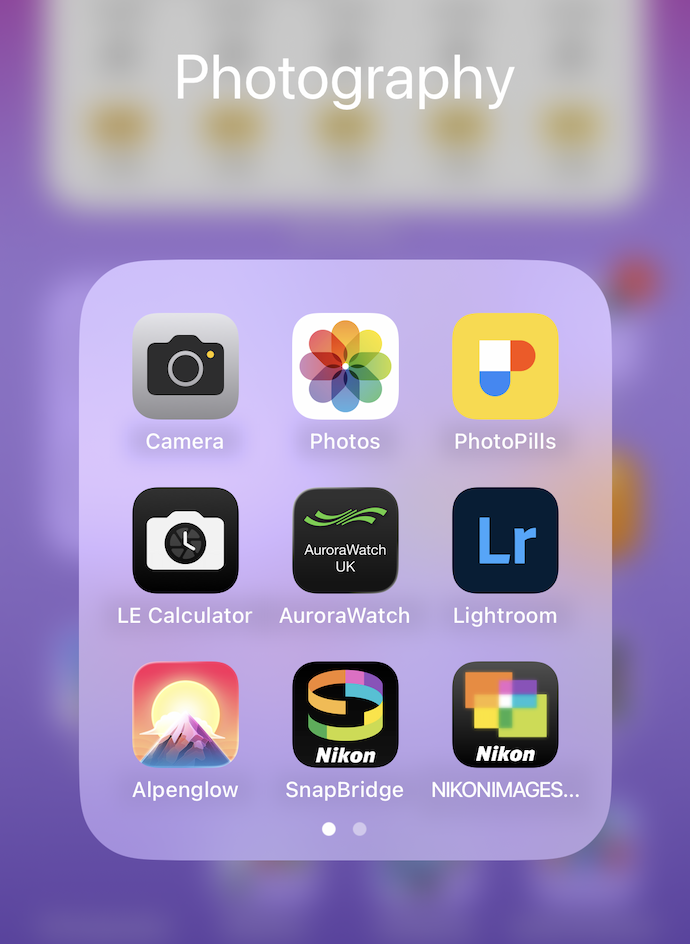
Technical apps
Below is a much narrower list of the apps you need to plan where and when exactly you need to be to take that marvellous snapshot. These are the tools that will help you nail the timing of your shot, turning a good image into a memorable one.
- PhotoPills: This tool offers lots of benefits. It gives hours for sunrise and sunset, plus times for golden hour, blue hours, etc. It also shows where the light is coming from on a map, so you can study where to position yourself. This app is helpful for all nature photography, but it is particularly beneficial for night and coastal photography. It even features a built-in long exposure calculator so you can get your timings perfect.
- The Photographer’s Ephemeris (TPE): This one is similar to PhotoPills, but it’s easier to learn and has fewer features in comparison. You can use either one.
- LE Calculator: If you don’t have PhotoPills, a standalone LE Calculator app is essential for calculating the correct shutter speed when using Neutral Density (ND) filters. You can simply input your settings, and the app will give you the exact exposure time needed for a perfectly blurred scene.
- Google/Apple Maps: To complement the information on locations, terrain, and check preview features of the area, such as Google Earth, etc.
Travel guide apps
Sometimes the best shot is the one you haven’t discovered yet. These apps act as your personal scouts, helping you find beautiful, often hidden, locations for your next photograph.
- Locationscout: A community-driven app that helps you discover and bookmark specific photo spots shared by other photographers. It’s like a secret map to some of the world’s most breathtaking places, complete with geo-coordinates and tips from those who’ve been there.
- AllTrails: Excellent for finding new hiking trails and routes for your landscape photography. It provides detailed maps and user-submitted photos of the terrain, so you know exactly what to expect on your trek to get the shot.
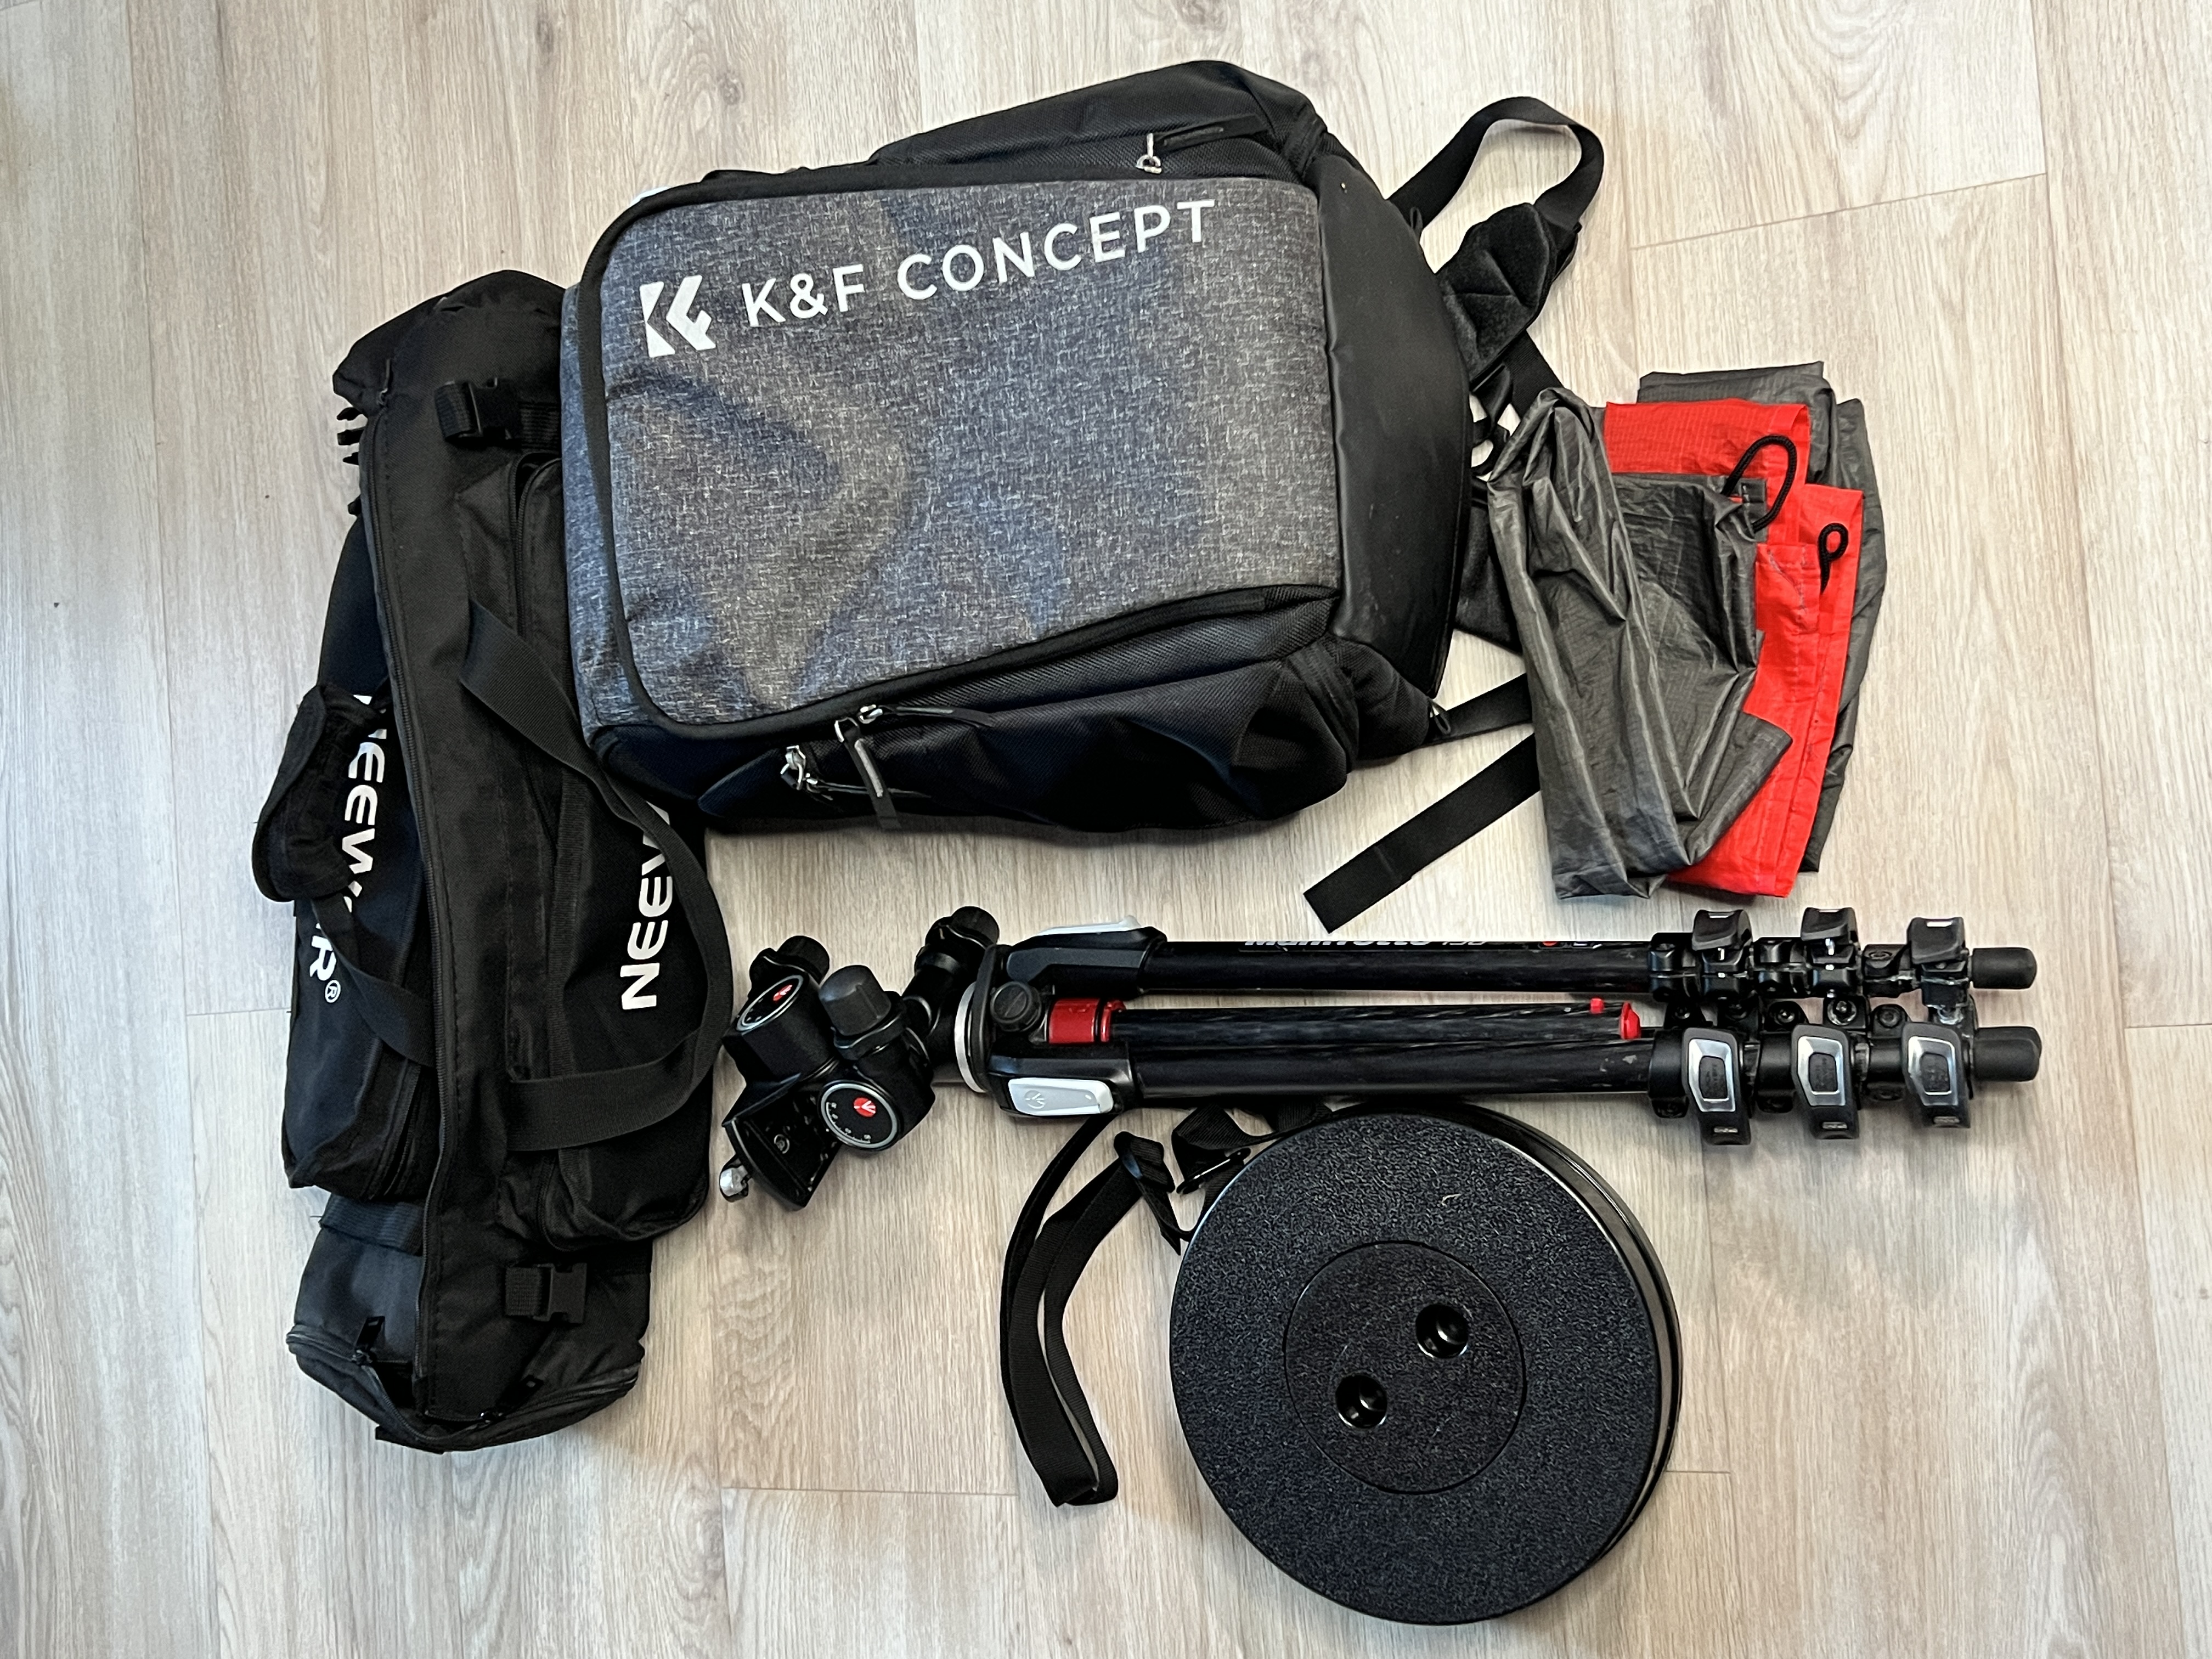
Keeping your kit protected
Your camera body, lenses, filters, and tripods are expensive pieces of equipment. They are the heart of your creative arsenal, and they need to be protected from harm. This is especially true if you are venturing into the wilds of Scotland, where you’ll be facing all manner of wind and rain. You need to shield your gear from falls, water ingress, and other nasty occurrences.
For this, you will need a backpack or case that is specifically designed to carry such equipment. The list of brands is extensive, but a quick search for a helpful ranking of the best backpacks for photographers will point you in the right direction. A good pack isn’t just about carrying your gear; it’s about protecting it in individual, padded compartments that prevent damage from knocks and bumps.
Similarly, if you carry just a camera with only one lens and other small accessories, you may want to go for a hard case instead of a backpack. Again, you can find some ideas here for the best cases. A hard case offers superior protection and peace of mind when you’re travelling.
In all instances, make sure the bag is made of water-repellent material or comes with a rain cover that you can quickly put on top of it if the heavens decide to open while you are out and about. Also, the roomier and the more divisions the bag has, the easier it will be to carry all of your stuff and keep it organised. When packing for a trip, ensure there is sufficient space to transport a tripod and laptop, if you plan to use one.
For my own kit, I also swear by carrying my tripod in a separate, waterproof bag. This prevents water from dripping onto my camera and lenses after a rain shower. For those times you need to set your gear on the ground, a waterproof picnic mat is a total game-changer. It not only keeps your equipment dry and clean from mud and moisture but also helps to preserve the environment by protecting the ground underneath.
One last item that is advisable to have, particularly for wetter climates, is a dedicated rain cover for your camera. They are not that expensive and will allow you to still shoot that wonderful castle or mountain on a foggy or showery day.
Taking care of yourself too
Last but not least is the fact of protecting yourself while out there. As the pilot of this photographic journey, your well-being is paramount.
Windproof clothing, outdoor boots, sunscreen, insect repellent, and a basic first aid kit are among the essential items you should carry with you, particularly on long outdoor trips.
One new addition to my own go-bag is a telescopic plastic stool. It’s perfect for capturing those fantastic low-angle shots without having to lie on the ground, and it’s a lifesaver for sitting down to change a lens or simply to rest during a long walk. You need to make sure you enjoy yourself while snapping the best images, and that means being comfortable and prepared for anything. Don’t let a minor discomfort ruin a golden opportunity for a truly epic shot.
Now, the fun begins!
There it is. You have a complete checklist to take with you everywhere you go. The stage is set, the gear is prepped, and you are ready for action.
If you’re looking for inspiration for your next adventure, or just want to lose yourself in some of the locations mentioned here, do take a moment to explore the landscape prints in my gallery. Every image tells a story of an adventure, and I hope they inspire you to begin your own.
And if you ever find yourself on a creative journey and need a guide or a friendly hand to help you along the way, don’t hesitate to reach out!
Are there any other equipment or apps you take with you? Let me know in the comments.